NoGi BJJ: Intro to back attacks by Corey Guitard
Intro To Back Attacks will help you to develop a comprehensive understanding of the foundational concepts, tactics, and techniques used to take, maintain control of, and finish from the back mount!
What you'll learn:
• How to defend and escape the back control;
• Principles of back control, grip hierarchies and finishing mechanics;
• Principles of back control, grip hierarchies and finishing mechanics;
• How to expose, secure, maintain and submit your opponents from the back mount;
• How to attack the back VS the turtle, traditional pins, bottom position, and more!
This course is specifically designed to help you build a strong base of skills in the back position and help you to unlock your potential at an accelerated rate. At approximately 2 hours long, you will find this course much easier to watch than your average BJJ DVD set!
-
Welcome - Intro to Back Attacks
This course aims to overview the core concepts and techniques for taking the back, maintaining back control, and finishing from the back. The purpose of the course is to provide you with a foundation on which to build a more nuanced back-attack game in the future.
There is a lot of information... -
New Understanding: The Importance of Back Attacks
In grappling sports, there is no better position than back control. When you’re behind your opponent, you’re able to maintain control, stay safe, and wage your own attacks while your opponent can really only focus on defending and trying to escape.
This course will teach you how to punish your... -
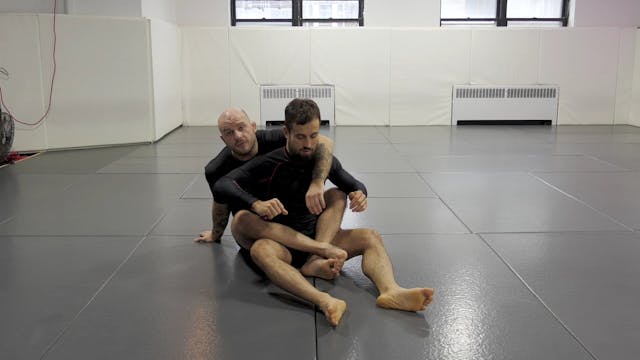
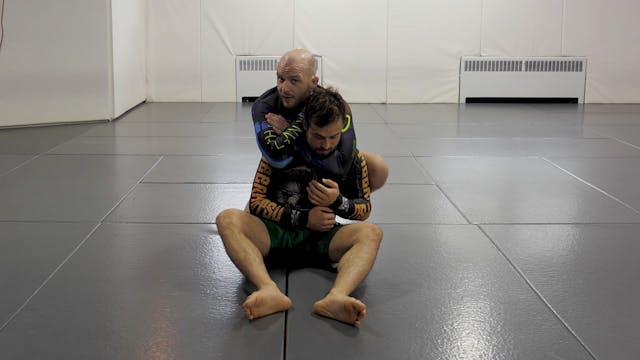
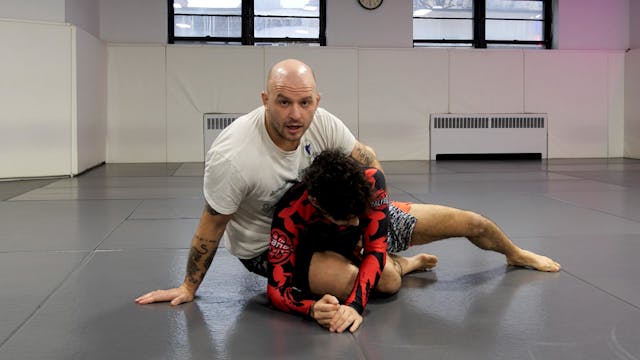
Principles of Back Control
The three preliminary principles of back control are: having your chest connected to your opponent’s back, having your hips above your opponent’s hips, and having your head and your choking arm on opposite sides of your opponent’s head.
The secondary set of principles of back control are: havi... -
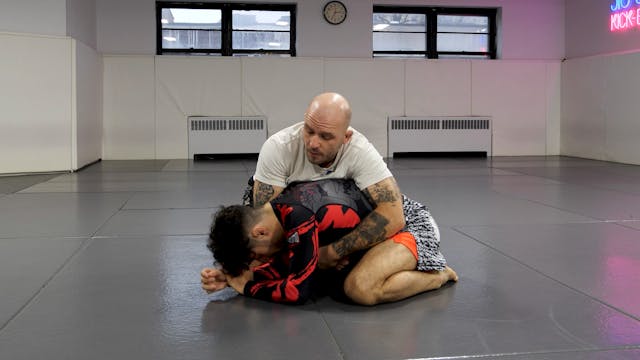
Strong and Weak Sides Explained
There are situations where, if your opponent is defending correctly, you may want to voluntarily switch from back control on the strong side to the weak side. For you to make this transition, you’ll have to move your underhook to the other side, change your head positioning, and hip-escape to ens...
-
Switching from Strong Side to Weak Side
There are situations where, if your opponent is defending correctly, you may want to voluntarily switch from back control on the strong side to the weak side. For you to make this transition, you’ll have to move your underhook to the other side, change your head positioning, and hip-escape to ens...
-
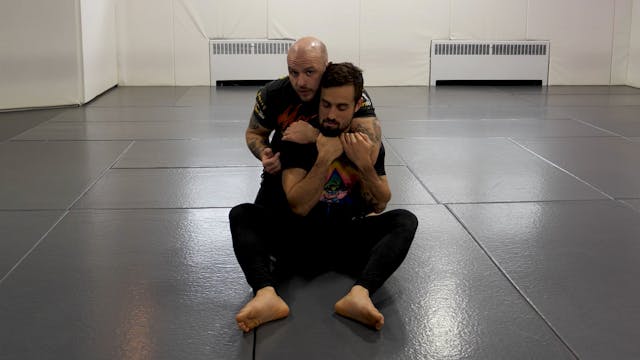
Grip Hierarchies from Back Control
The grips you choose, once you have the back, will determine the level of control you maintain and the types of attacks you can employ. The seatbelt grip offers you the best combination of control and offensive ability. More specifically, cross-grips should be at the top of your grip hierarchy.
-
Tracking the Back: The Chair Sit and the Belly Down Re-Take
-
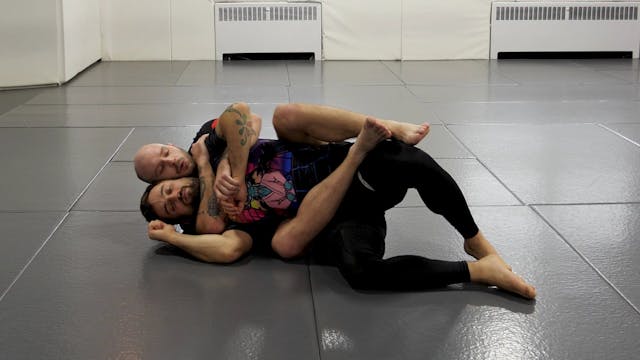
Rear Naked Chokes and Strangles Finishing Mechanics
The rear-naked choke/strangle is probably the most famous (and most successful) submission in grappling. However, it’s important to distinguish between strangles and chokes. A strangle attacks the carotid arteries, whereas a choke attacks the windpipe. Here are the details on when and how to use ...
-
Short-Choke from Back Control
There will be times when you can get your choking arm under your opponent’s chin, but you won’t have enough space to lock on a full rear naked strangle. In this case, you have another simple yet effective submission at your disposal: the short choke.
-
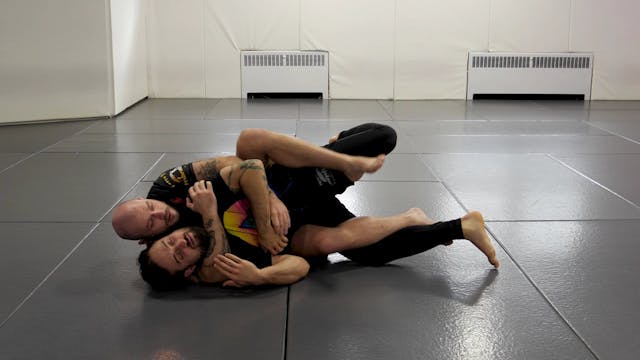
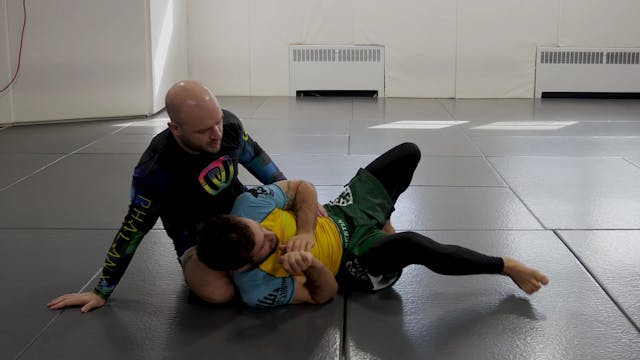
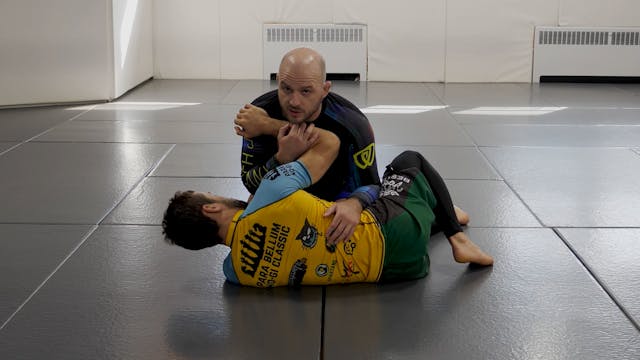
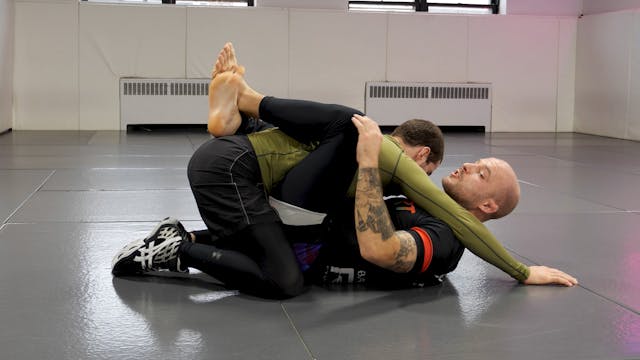
Using the Elbow Prop to Help Finish Strangles from Weak Side
Even with your choking arm under your opponent’s chin, there is still a chance they can get their shoulders to the mat when you try to lock up the submission. The elbow prop is another tool that can help you create space to make it easier to finish a rear-naked strangle or a short choke.
-
Defending and Escaping the Back Mount: Core Concepts
Before anything else, you need to defend against the choke/strangle. The order of the next steps will depend on your positioning, your body type, and your opponent’s positions and attacks. Either way, you’ll need to find a way to get your shoulders to the mat, and remove your opponent’s hooks to ...
-
Attacking the Back VS the Turtle
Your opponent can escape the side mount by turning into you or by turning away from you, putting themselves in a turtle position. When this back exposure occurs, you need to ask yourself two questions before initiating a technique. First, which points of contact (grips) do I have access to? Secon...
-
Attacking the Turtle: 4 Points of Control
There are 4 possible points of control when attacking the turtle: both shoulders and both hips. In a perfect world, you’ll have all 4 points of control… but things don’t always go as planned when grappling. You can take advantage of a single point of control, but it’s more likely that two or thre...
-
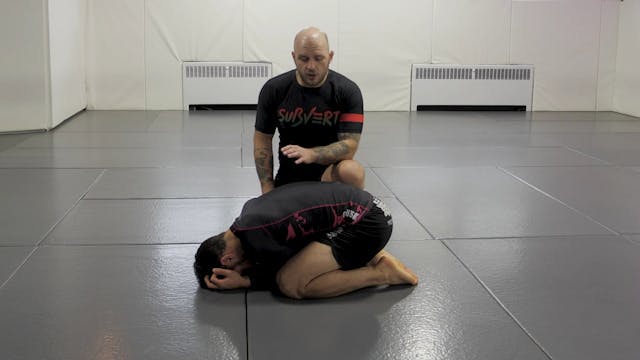
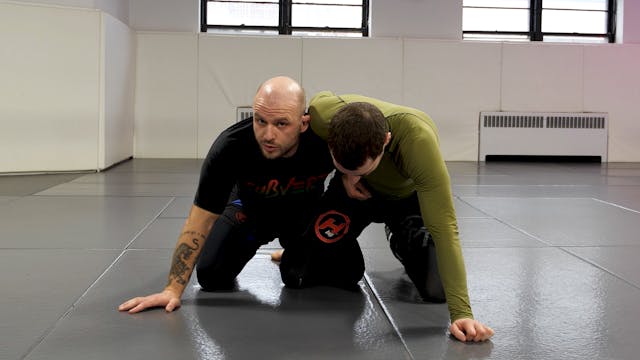
Opening a Closed Turtle
A tight turtle position may be hard to attack at first, but you can take advantage of their rigid structure to disrupt their base and open up the position. Breaking your opponent’s balance and separating their upper from their lower body will make it easier for you to get control and take the back.
-
Attacking an Open Turtle
Attacking an open turtle position starts with getting a proper seatbelt grip on your opponent’s upper body. With this kind of control, you’ll be able to easily attack the back when your opponent turns into you. However, you may run into some trouble when your opponent is able to disrupt your valu...
-
Attacking an Open Turtle: Sag and Hip Shovel
With a tight seat belt control, you’ll often be able to get your near-side knee between your opponent’s knee and elbow (with your knee pointing towards your opponent’s feet). From there, you can sag your shoulder, shovel your knee into the space created, and complete your back take.
-
Attacking an Open Turtle: Far Chair Sit
When you have seatbelt control, one option for your opponent is to drop their far hip to the mat. In this case, you’ll need to throw your knee across your opponent’s back to perform a far-side chair sit. When you complete the roll to the other side, you’ll be able to lock in both leg hooks and se...
-
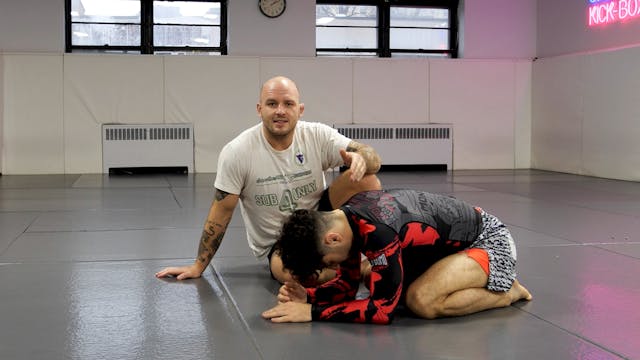
Attacking an Open Turtle: Cross Shoulder
A popular option for escaping the turtle position is for your opponent to drop their far shoulder to the mat. When you’re attacking the turtle position and this happens, your best option is to follow the roll with one of your own (but with your opposite shoulder rather than the same shoulder your...
-
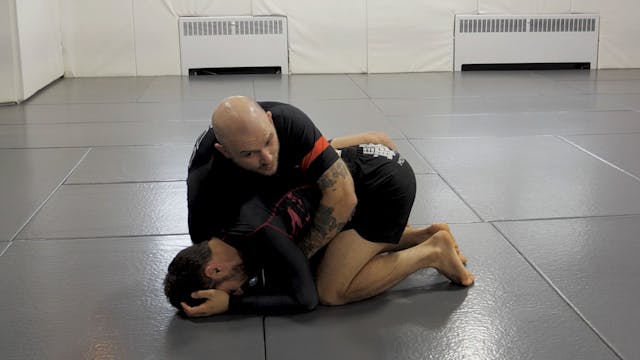
Creating Near-Side Back Exposure from Side Control
When you’re grappling experienced opponents, it’s unlikely they will accept being in bottom side control, and will instead be bridging, hip-escaping, and turning away from you to try to escape. You can take advantage of this movement by placing your body in the space they’ve created, then securin...
-
Using the Topspin to Create Far Side Back Exposure VS Side Control (and Turtle)
When your opponent turns into you from bottom side control with an underhook or a frame, you can move to the other side of their body using a topspin. From there, their back is available for the taking. The topspin can also be used when attacking the turtle or front headlock positions.
-
Using the Claw Grip to Take the Back VS Side Control
It will be difficult for you to use the topspin technique when your opponent turns into you from bottom side control with a strong cross frame on your shoulder. Instead, you can push your opponent’s arm towards their head and use the claw grip to control the position, move your body to the other ...
-
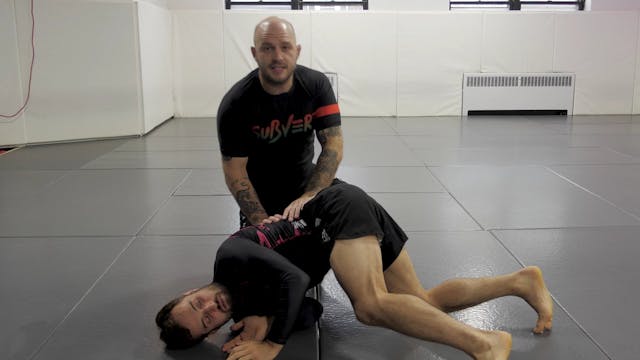
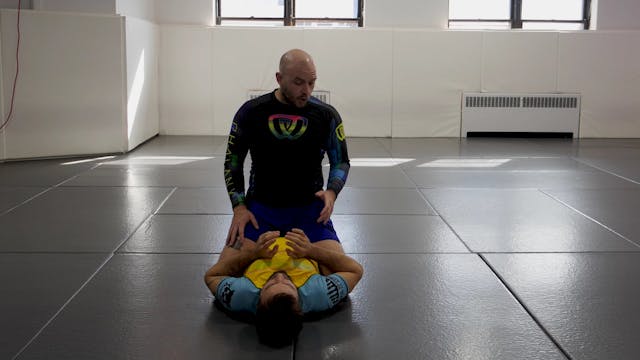
Attacking the Back from the Mount
Top mount is a great position to be in, as it allows you to stay safe while exposing your opponent to various attacks. One way to expose the back from the top mount is to begin an attack on one of your opponent’s arms to force them to turn, lifting their shoulder off the mat and exposing their ba...
-
Attacking the Back VS the 4-Point Stance
Whether you had the back and your opponent managed to stand up, or you were able to perform a back take from an exchange on the feet, the mechanics of back control change when your opponent’s hips are higher than their shoulders. When this happens, you’ll need double-underhooks rather than a seat...
-
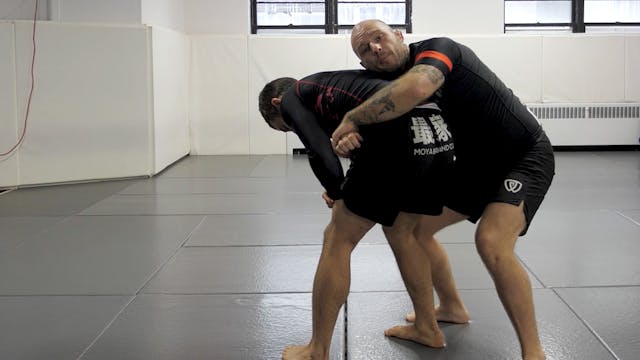
Grounding a Standing Opponent to Take the Back
When you’re standing and are able to get a claw or a body-lock, the best way to take the back is to get your opponent’s hands or hips to the mat before anything else. There are a few ways this can be accomplished: by grabbing the hip and moving in a circular motion, by putting your hips in and li...
-
Arm Drag to Back Take / Single Leg
Arms drags are great for exposing the back and for opening up other attacks and transitions. When you perform an arm drag from bottom position, and your opponent’s hips are lower than their head, the path to the back is simple. However, if you arm drag and your opponent’s hips are high in the air...
-
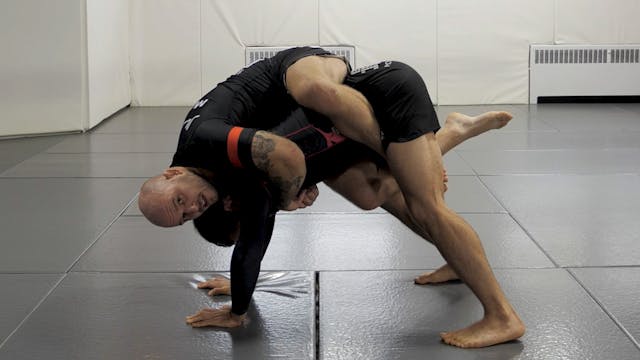
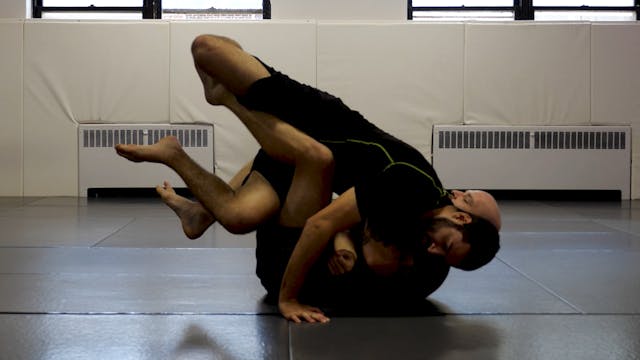
Kickflip Back Take from Butterfly
When your opponent defends against the arm drag from butterfly guard by keeping their elbow close to their body, you can use this rigidity to pull your own body closer to elevate your opponent. From this elevation, you can kick one of your legs and remove the other leg to expose your opponent’s b...
-
Half Guard to the Back
Moving from bottom half guard to the dog-fight position is a great way to threaten your opponent and expose their back. When your opponent counters your underhook with an overhook of their own, you can limp-arm your way out and attack their back. If your opponent lets you have an underhook and do...
-
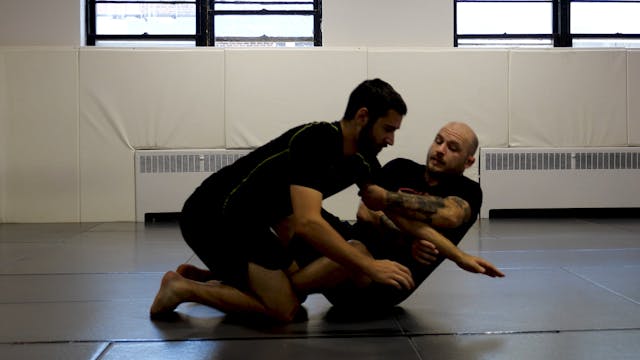
Closed Guard to Back Control
When you have a tight head and arm control from bottom closed guard, you’ll often be able to hip-escape, improve your angle relative to your opponent, and transition to a gift-wrap grip. From there, you have a few options to take the back depending on your preferences, positioning, and body-type.
-
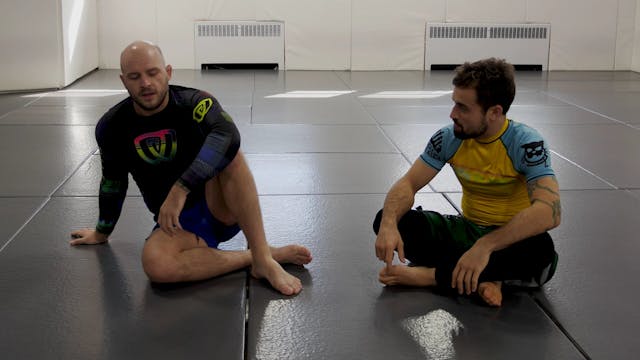
Outro - Intro to Back Attacks
That concludes our introduction to back attacks! We hope you enjoyed the material and can make use of these techniques and concepts to have more success (and fun) in training and competition.
Stay tuned for our next course, which will focus on more advanced back attacks that you see in high-le...